quetzlinova's Walkthroughs
Shin Megami Tensei: Persona 2: Eternal Punishment (WIP)
My personal walkthrough of Persona 2: Eternal Punishment for PSP.Please note that both Persona 2 games were released on PS1 with remakes on PSP in Japan; but due to a very weird turn of events, only the PSP version of Innocent Sin and the PS1 version of Eternal Punishment were released in America. So, if you play both official releases, you will be sort of going backwards in quality when you play the sequel.There is a fan translation of the PSP version of Eternal Punishment, and I have used that version for my Eternal Punishment walkthrough, for it is a big quality upgrade. A user on github ported the PS1 official translation onto the Japanese PSP ISO file and also included a fan translation for the additional content, Tatsuya's Scenario, with permission from the creator. You could go there and do the patching yourself with the instructions provided, but someone already did so and posted the fresh download link here. In short, that link is a fan translated version of the better edition of the game, and it can be run by using an emulator such as PPSSPP.I will note though, that emulators are fully legal if you acquire ROMs and ISOs with permission, and/or already own your own copy of this content and I do not condone stealing, so don't get me in trouble. I do not make any money off of these walkthroughs, so relax.Alright, so before you continue I also need to just let you know that I would recommend having the Contact Guide below opened in another tab all throughout the game so you can reference it as needed.Welcome and I hope you enjoy!
quetzlinova's Walkthroughs
Contents

quetzlinova's Walkthroughs
Beginning the Game
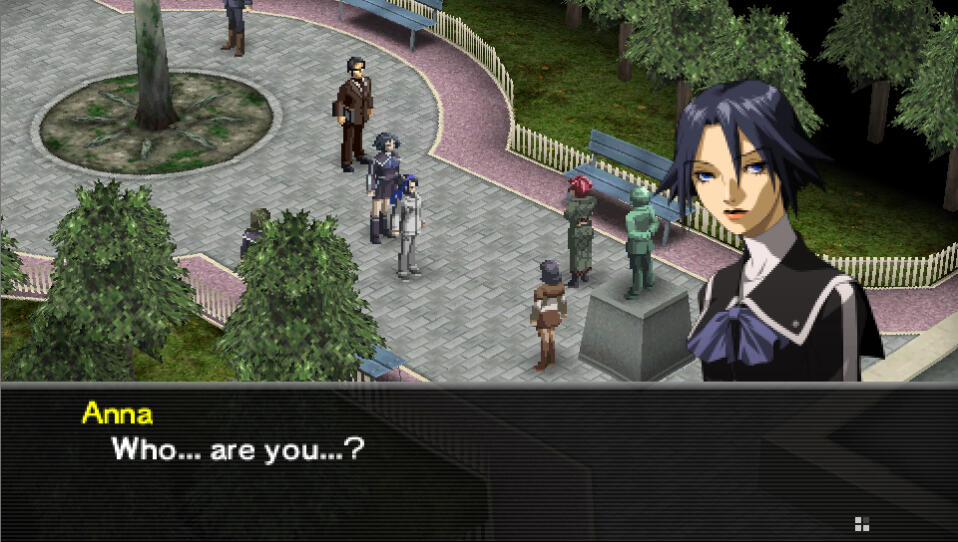
Choose your difficulty. I said it once and I'll say it again, there is no shame in easy mode if you just want the story. After you select your choice, a series of cutscenes will introduce you to the world. You may choose any dialogue options here. After the conversation with your dumbass boss, exit her office (with a penis shaped table in it for some reason) for another quick cutscene. Speak to everyone you can and then head down the elevator to meet up with Ulala. When you leave you'll find yourself in another cutscene at Seven Sister's High.
quetzlinova's Walkthroughs
Seven Sisters High
2F: You will start on the second floor. After the cutscene, leave the room. Speak to the students and advance south to the staircase. There is a treasure chest next to the stairs containing Energy Drink x2. On your map, you'll notice that some doors are green and some are red, this just indicates whether the doors are usable or not, which is really useful. There are two classrooms on this floor that you can enter. Go ahead and enter both 2-A and 2-C to find more students to speak to. After you're done, head up to the third floor.3F: In the southeast corner, next to the stairs, there is another treasure chest containing ¥1200. Head to 3-B and talk to everyone. When you're done, head down two flights of stairs.1F: Here, 1-D is the only classroom open to talk to more students. You can go to the Janitor's Room to the northwest and the Bike Racks to the northeast if you like, but whenever you're ready, just head to the courtyard to continue the story with another cutscene. When you're in control again, speak to everyone in the courtyard, then head back inside and up to the third floor.3F: Find the Principal's Office in the northwest and enter for a series of cutscenes. You can say anything to Ulala. After the cutscene is over, random encounters are now active in the school. If you would like to grind in this dungeon, the Janitor's Room on the first floor functions as a healing room. Head to the second floor when you're ready.2F: Head to the Teacher's Lounge in the northwest corner and speak to the man at the blackboard to obtain the Clock Tower Key. Head to the fourth floor.4F: Enter the Clock Tower for a cutscene, and your first boss fight.Boss: Empusa and Apep x2: Begin by killing Empusa first, because she heals the others. She is weak to Earth, nullifies Light and Dark, and resists Mind and Nerve. The Apep on the other hand are weak to Fire, and resist Mind, Nerve, Dark, Light, and Water. It's your first boss so it won't be too hard regardless.After the battle you'll witness some more cutscenes. Talk to everyone and leave the school to the Town Map.

quetzlinova's Walkthroughs
Spreading Rumors Part I
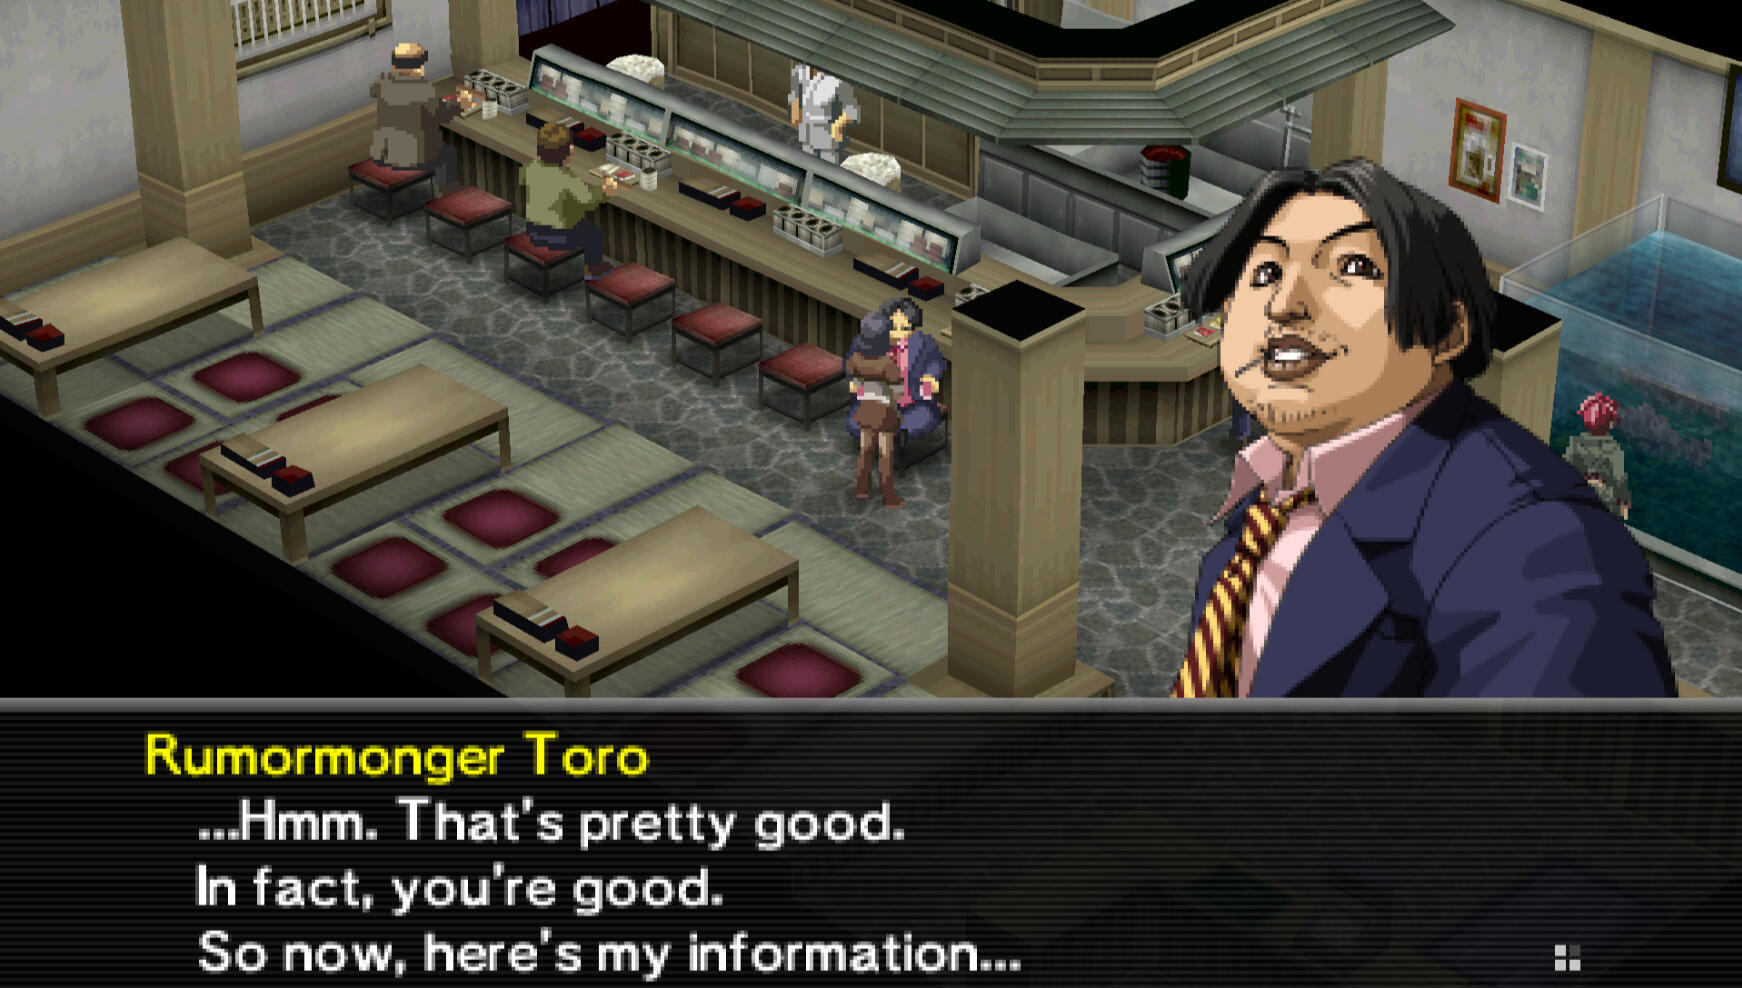
This is the Rengedai Town Map. There are NPCs here to talk to, and if you hold down ▢ you can see all interactable locations. If you need healing, you can head to Lotus > Kaori and heal up with aromatherapy. Speak to everyone you wish if you'd like, but when you are ready, you're going to head to the edge of Rengedai to get to the Sumaru City Map.You only have two locations so far: Rengedai, and Aoba. Obviously, head to Aoba. You'll want to head to Aoba Way > Kuzunoha Detective Agency to advance the plot. After the cutscene, spread the only available rumor with Chief Todoroki, and another short cutscene will play. Leave the agency when you're ready.Head over to Rengedai > Lotus > Gatten Sushi and speak to Rumormonger Toro to obtain a new rumor about Time Castle selling Skill Cards. There is actually a second part to this rumor, but unfortunately you have to spread this one first and come back for the second part, then go spread that one as well. The second rumor is about Time Castle also duplicating the Skill Cards.Next, head to Aoba > Aoba Way > Double Slash. After the cutscene, re-enter Double Slash and interact with the orange computer again to obtain another rumor about Rosa Candida selling armor.Next stop is the Velvet Room. If you care about the dialogue, make sure to talk to everyone multiple times to read it all. This is just the introduction and you do not need to do anything here really except see it exists. Feel free to do fusions with Igor if you're able to, but when you're ready, go ahead and leave.Also in Aoba Way is Parabellum and Rosa Candida, the places your rumors affected. Go ahead and buy weapons and armor if you have enough money left to do so. Whenever you are done exploring and shopping, it's time to head to the third town on our City Map now, Mt. Katatsumuri.
quetzlinova's Walkthroughs
Mt. Katatsumuri Part I
You'll notice there is only one location here to enter, the Sanitarium. As you head down that path, there will be some short dialogue with that NPC on the map. Afterward, just head to the little path nearby and enter there.
quetzlinova's Walkthroughs
Contact Guide
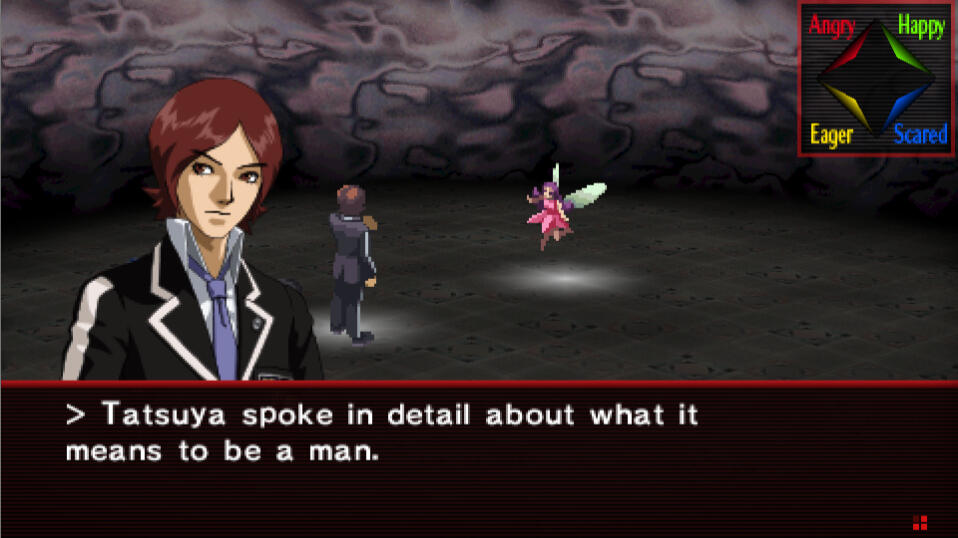
When in battle you may choose to Contact the personas. You can get various things from them such as healing and items, but most importantly, raising their Eagerness level gets you their Tarot Cards. This is one of the most important mechanics of the game because these allow you to fuse new, stronger personas. So I highly recommend doing this often. Raising Happiness allows you to form a pact with the demon. This makes them give you items, money, or information the next time you encounter them. The correct dialogue choices with the correct character is the only way these conversations will be successful. However, the demons can also be unpredictable and will respond differently to the same things when they ask you questions, so there is still some luck and RNG involved. Below are all the correct dialogue choices, organized by dungeon.
Seven Sisters High
Ghost: 2 Devil Cards, Item: Antidote
Eager: Investigation(Katsuya)
Happy: Advise(Maya + Katsuya), Advise Special(Maya + Ulala + Katsuya +)Slime: 3 Tower Cards, Item: Medicine
Eager: Interview(Maya)
Happy: Advise(Maya + Katsuya), Advise Special(Maya + Katsuya + Ulala)Pixie: 4 Lovers Cards, Item: Clean Salt
Eager: Investigation Scam(Katsuya + Ulala)
Happy: Persuade Special(Katsuya + Maya + Ulala)Poltergeist: 4 Devil Cards, Item: Medicine
Eager: Persuade Special(Katsuya + Maya + Ulala)
Happy: NoneXaphan: 8 Hanged Man Cards, Item: Antidote
Eager: Investigation Scam(Katsuya + Ulala)
Happy: Radiant Women Unite(Maya + Ulala)Nightmare: 6 Moon Cards, Item: Revival Bead
Eager: Fortune Telling(Ulala)
Happy: NoneRatatoskr: 8 Hermit Cards, Item: Open Sesame, Magna Card
Eager: First use Fortunte Telling(Ulala), then Women Wanting to Marry(Ulala + Maya + Katsuya) for the rest.
Happy: Persuade(Katsuya + Maya)Zombie Schoolgirl: Zombie, Item: Medicine
Eager: No contact
Happy: No contact